
Set Up CockroachDB in your Golang Application
Build a REST API with Go, CockroachDB, Gorm and Chi

Solving problems with software
CockroachDB is a resilient, distributed SQL database designed to deploy and scale easily and survive hardware and software failures. I'll be walking you through setting up CockroachDB on your local machine and using it in your Golang application.
Prerequisite
- Go: Learn how to install and set it up via the official documentation.
- Editor/IDE: VS Code is highly suggested.
Step 1: Installing CockroachDB
If you prefer a cloud instance, learn how to set it up via the documentation and then skip this step.
First, Install CockroachDB on your local machine.
Run the following command to confirm installation:
cockroach version
If you run into any issues on windows, GeekForGeeks wrote a complete guide on installing CockroachDB on Windows.
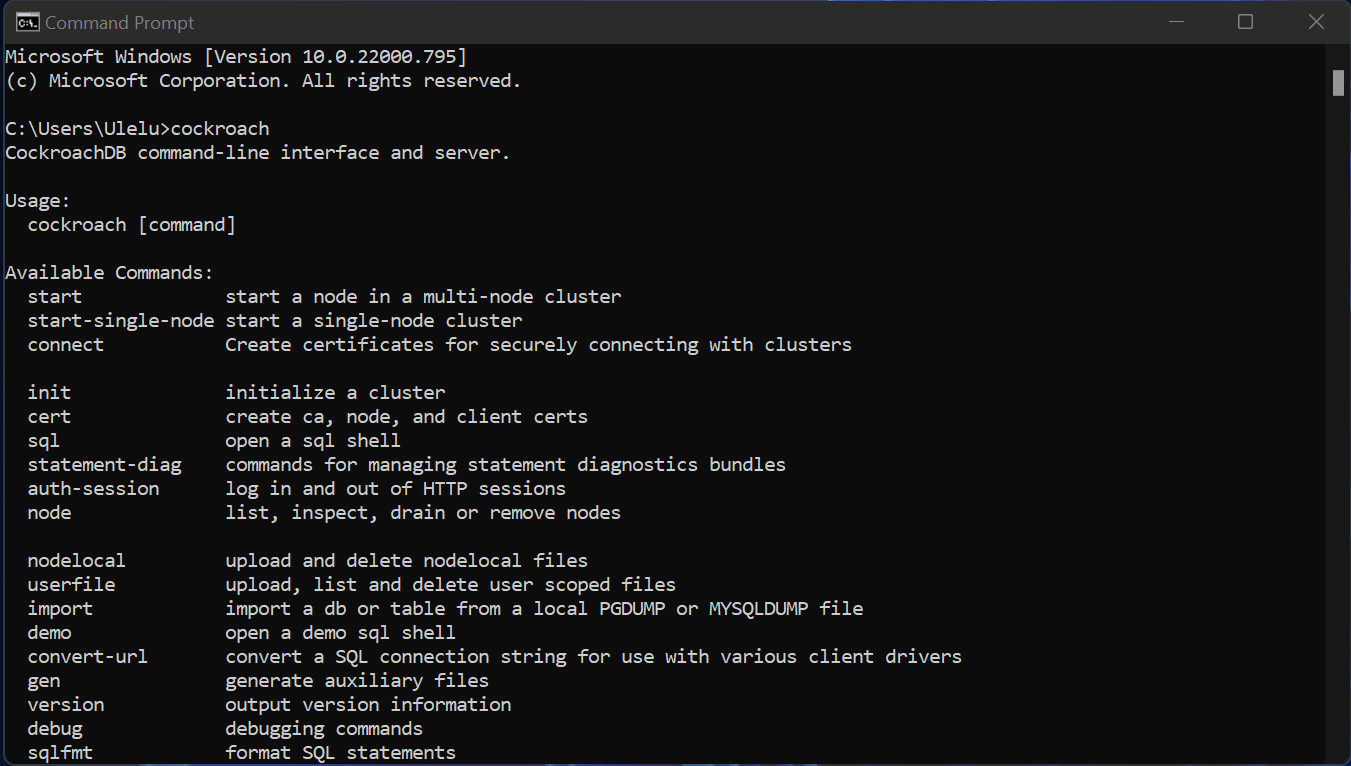
Run cockroach to see all the available commands.
Start a single node cluster using the following command:
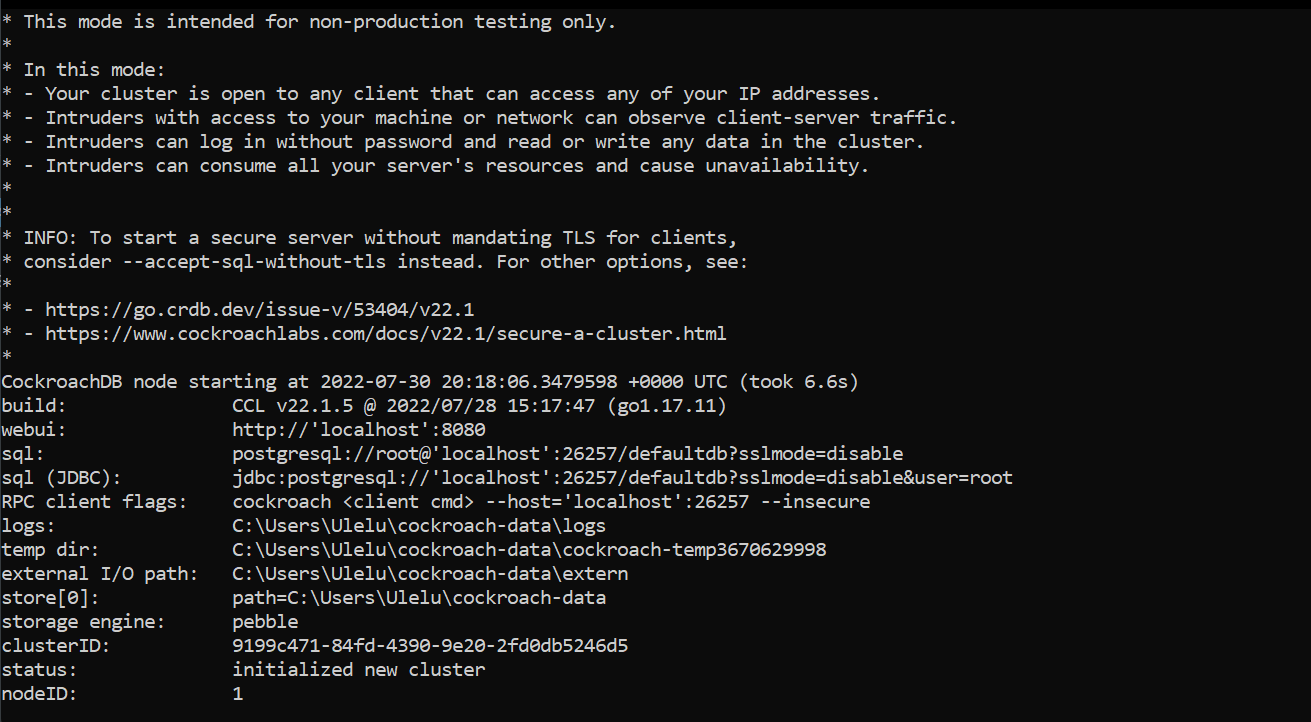
cockroach start-single-node --advertise-addr 'localhost' --insecure
If you see the following message printed on your console then you have successfully set up CockroachDB. Ensure to copy the details for use while setting up your SQL connection.
To connect to the CockroachDB SQL shell, run the following command:
cockroach sql --insecure
Create a new database with the following command:
create database testdb;
Replace "testdb" with your preferred database name.
Step 2: Set Up your Application
- Create a folder to hold your project files.
- Open the folder in your terminal and run the following command:
go mod init <my_app_name>
Replace
<my_app_name>with the name of your application or repository.
Create a main.go file inside your project folder and add the following as its content.
Import Router and ORM
For this project, we will use Chi as our preferred router and GORM as our mapper. Run the following commands individually to install chi, gorm and its eqivalent postgres driver for connecting to our CockroachDB:
go get -u github.com/go-chi/chi/v5
go get -u gorm.io/gorm
go get -u gorm.io/driver/postgres
You can replace Chi or Gorm with your preferred router or mapper.
Display a simple message
Add the following lines of code as the content of your main.go file. Run your application using the go run main.go command and navigate to http://localhost:8082 on your browser, you should see a simple "Hello World!" message.
package main

import (
    "log"
    "net/http"
    "github.com/go-chi/chi/v5"
)

func main() {
    port := "8082"
    log.Println("Running on http://localhost:" + port)
    r := chi.NewRouter()
    r.Get("/", func(w http.ResponseWriter, r *http.Request) {
        w.Write([]byte("Hello World!"))
    })
    log.Fatal(http.ListenAndServe(":"+port, r))
}
Connect to Database
We will proceed to connect our database and create 2 endpoints:
productsto GET all productsproductto POST a new product
Replace the contents of your main.go file with the following lines of code:
package main

import (
    "encoding/json"
    "fmt"
    "io/ioutil"
    "log"
    "net/http"

    "github.com/go-chi/chi/v5"
    "gorm.io/driver/postgres"
    "gorm.io/gorm"
)

func main() {
    port := "8082"
    log.Println("Running on http://localhost:" + port)
    //INITIALIZE DATABASE
    db := InitDatabase()
    // USE DEPENDENCY INJECTION TO AVOID CREATING MULTIPLE DB INSTANCES
    h := New(db)

    r := chi.NewRouter()
    r.Get("/", hello)
    r.Get("/products", h.getAllProducts)
    r.Post("/product", h.addProduct)

    log.Fatal(http.ListenAndServe(":"+port, r))
}

type Product struct {
    ID          int    `json:"id" gorm:"primaryKey"`
    Name        string `json:"name"`
    Description string `json:"description"`
    IsOnSale    bool   `json:"isOnSale"`
}

func hello(w http.ResponseWriter, r *http.Request) {
    w.Write([]byte("Hello World!"))
}

func (h httpHandler) getAllProducts(w http.ResponseWriter, r *http.Request) {
    var products []Product
    if result := h.DB.Find(&products); result.Error != nil {
        fmt.Println(result.Error)
    }
    w.Header().Add("Content-Type", "application/json")
    w.WriteHeader(http.StatusOK)
    json.NewEncoder(w).Encode(products)
}

func (h httpHandler) addProduct(w http.ResponseWriter, r *http.Request) {
    defer r.Body.Close()
    body, err := ioutil.ReadAll(r.Body)
    if err != nil {
        log.Fatalln(err)
    }
    var product Product
    json.Unmarshal(body, &product)
    // ADD PRODUCT TO DATABASE
    if result := h.DB.Create(&product); result.Error != nil {
        fmt.Println(result.Error)
    }

    // Send a 201 created response
    w.Header().Add("Content-Type", "application/json")
    w.WriteHeader(http.StatusCreated)
    json.NewEncoder(w).Encode("Product Added Successfully")
}

func InitDatabase() *gorm.DB {
    dbURL := "postgres://root@localhost:26257/testdb?sslmode=disable"
    db, err := gorm.Open(postgres.Open(dbURL), &gorm.Config{})
    if err != nil {
        log.Fatal(err)
    }
    //AUTOMATICALLY CREATE PRODUCT TABLE IF IT DOESN'T EXIST
    db.AutoMigrate(&Product{})
    // ADD SOME SAMPLE DATA
    db.Create(&Product{ID: 1, Name: "Sample Product", Description: "This is a sample product", IsOnSale: false})
    return db
}

type httpHandler struct {
    DB *gorm.DB
}

func New(db *gorm.DB) httpHandler {
    return httpHandler{db}
}
Edit the
dbUrlin theInitDatabase()function to suit your database name and port.
Step 3: Running your Application
Navigate to the project directory on your terminal and run the following command:
go run main.go
You should see a message that looks like this in your console.
2022/07/31 00:14:39 Running on http://localhost:8082
Congratulations! You have successfully created a web application with Go and CockroachDB. Proceed to test with your favorite testing tool. See samples below:
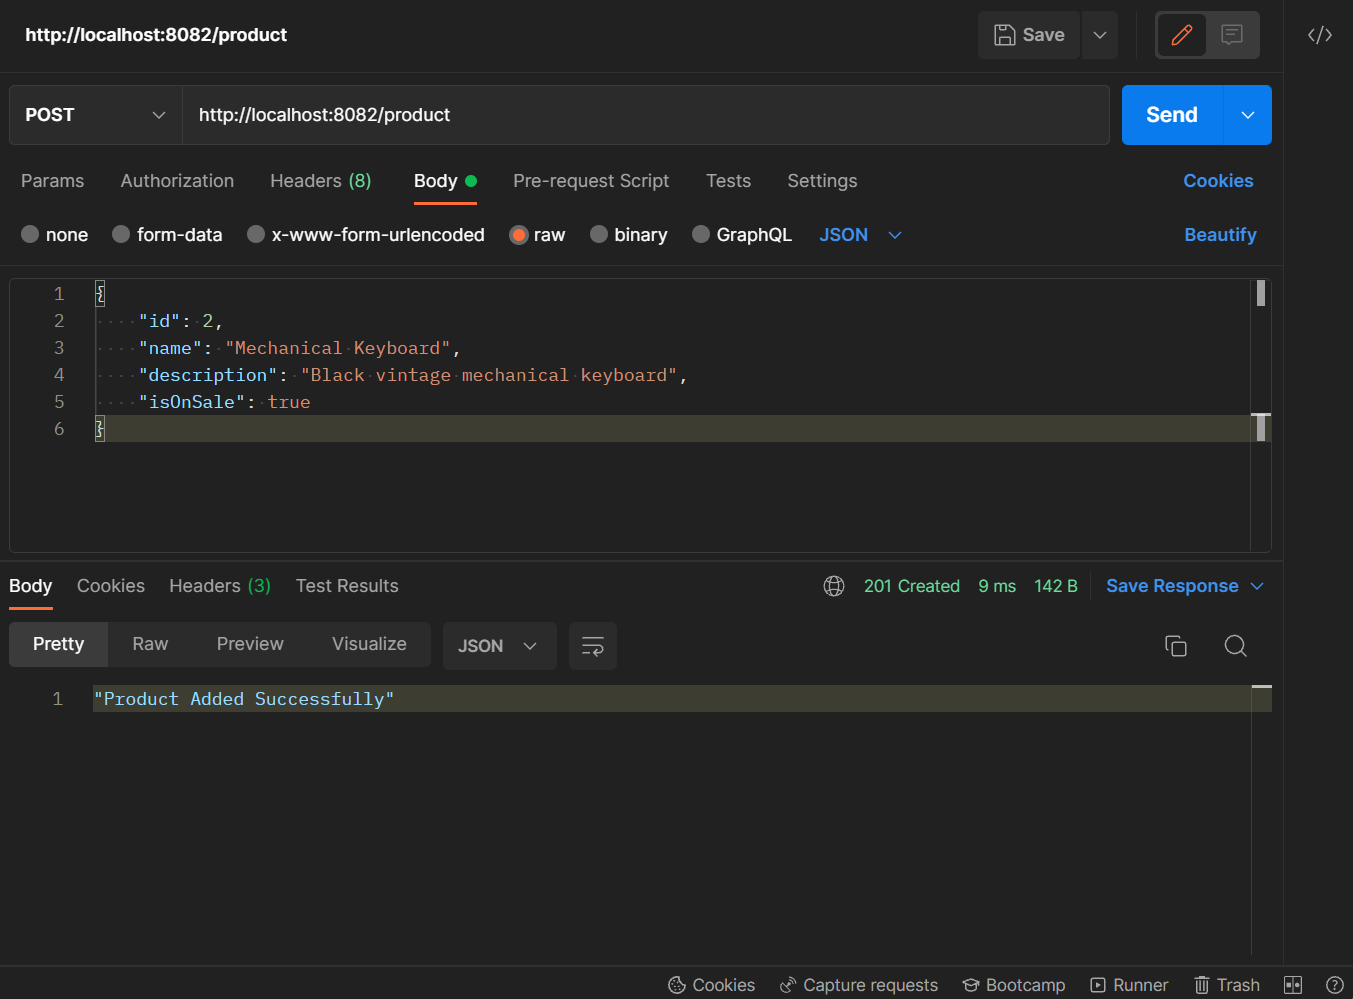
POST http://localhost:8082/product
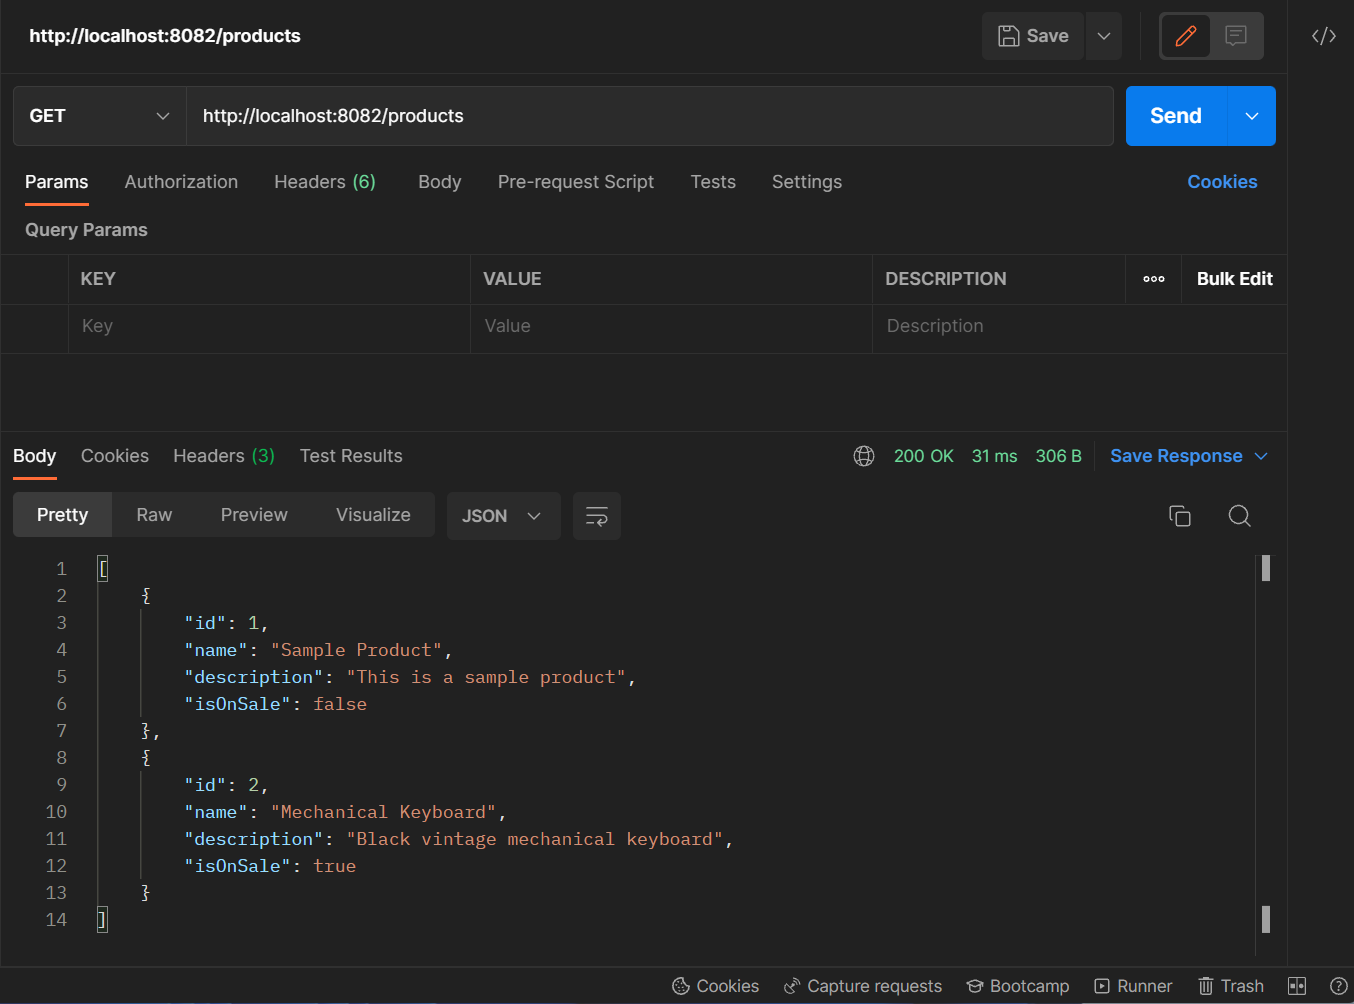
GET http://localhost:8082/products
Conclusion
You have now learnt how to install CockroachDB, retrieve your SQL connection details, build a REST Api with Golang and connect it to your CockroachDB. You can find all the code from this tutorial in my Github repo
I hope this was helpful!
You can connect with me, share feedbacks or ask questions on Twitter or LinkedIn
Cheers!


